Home>Create & Decorate>DIY & Crafts>TwigandThistle Acquires The Crafty Scientist


DIY & Crafts
TwigandThistle Acquires The Crafty Scientist
Published: February 19, 2024

Senior Editor in Create & Decorate, Kathryn combines traditional craftsmanship with contemporary trends. Her background in textile design and commitment to sustainable crafts inspire both content and community.
TwigandThistles acquires The Crafty Scientist to expand its creative arts reach, promising a new era of DIY and craft inspiration.
(Many of the links in this article redirect to a specific reviewed product. Your purchase of these products through affiliate links helps to generate commission for Twigandthistle.com, at no extra cost. Learn more)
![]()
TwigandThistles, a prominent name in the DIY and craft industry, has announced the acquisition of The Crafty Scientist. This strategic move aims to expand Twigandthistles’ reach in the creative arts sector.
“The union of The Crafty Scientist with Twigandthistles marks an exciting evolution in our journey. Twigandthistles has been a beacon of creativity and innovation, and we’re thrilled to bring our communities together,” said Mel, founder of The Crafty Scientist.
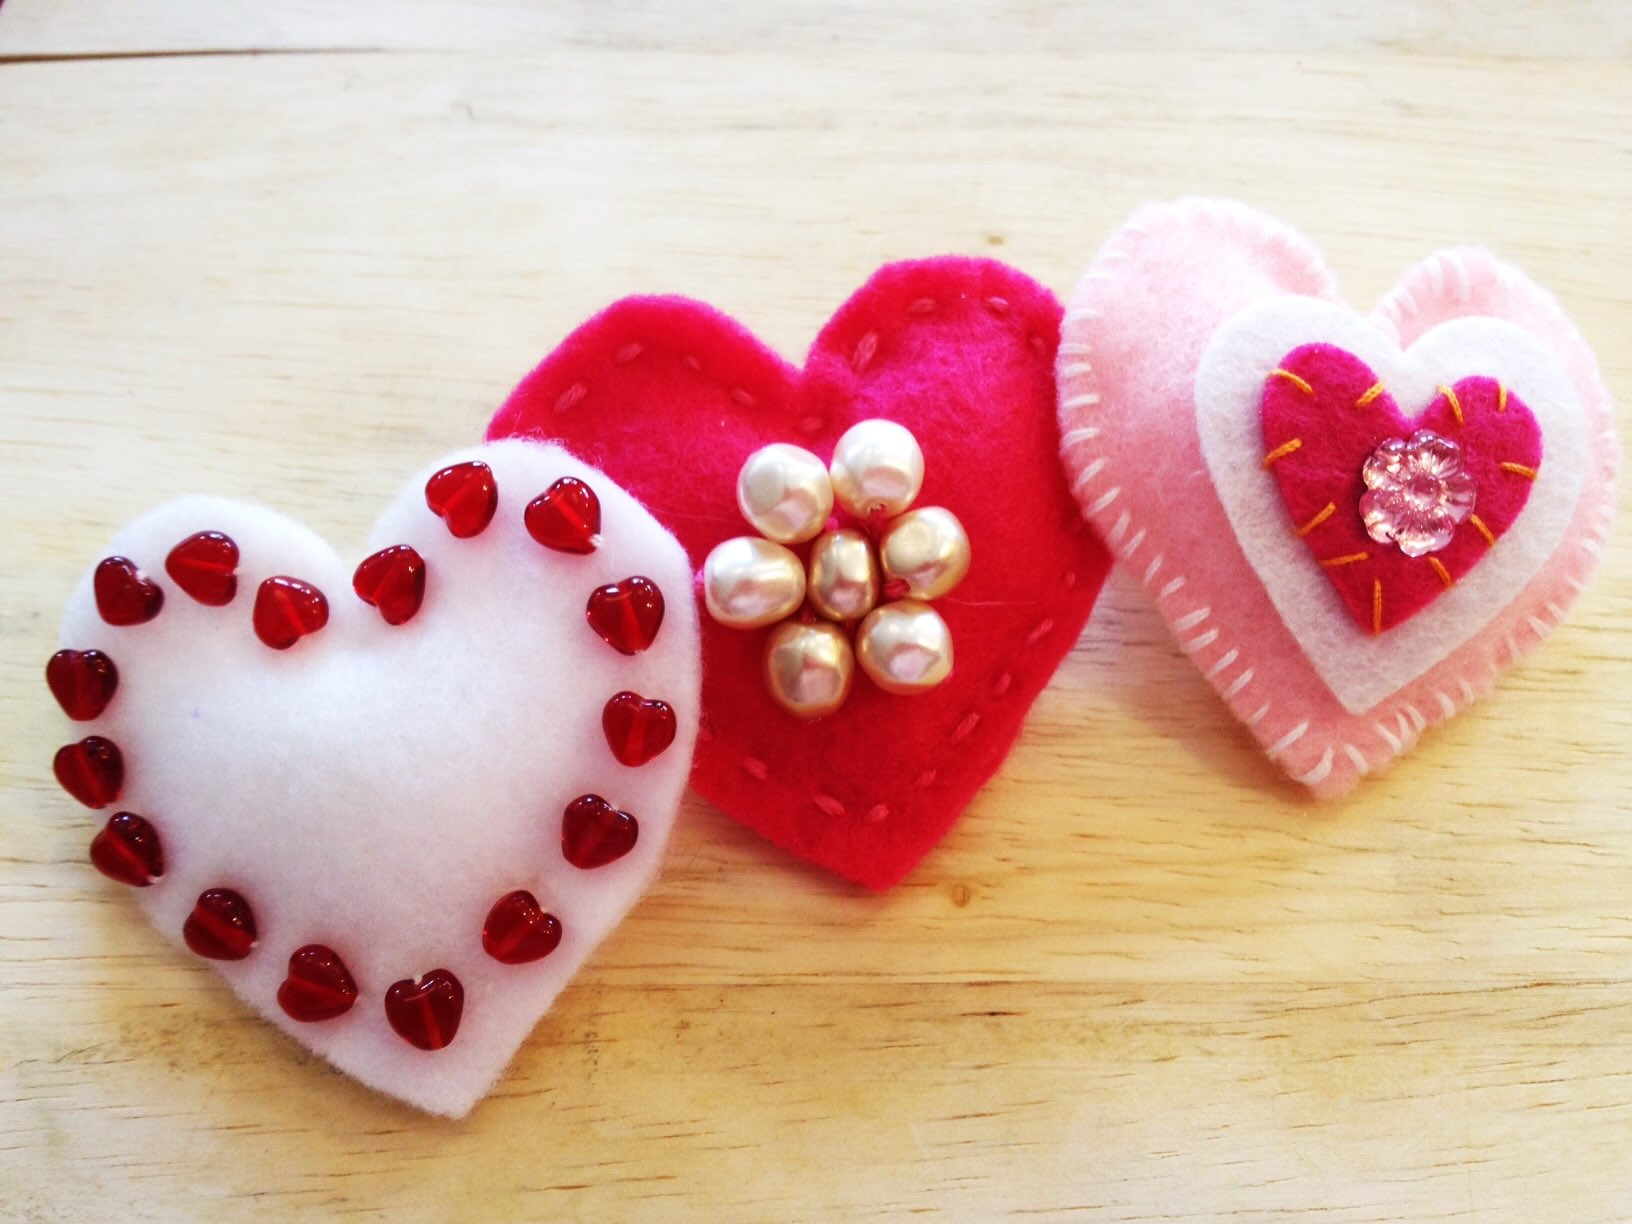
For more information on DIY projects and craft inspirations, Twigandthistles encourages enthusiasts to explore their extensive collection of resources and guides: DIY Pin Cushion, Quick And Easy Baby Quilt Patterns For Beginners, Aligning Seams In Quilting, DIY S’mores Kits, Easy Home Improvement Ideas.